Pi-hole - Blocking Ads at Home
Pi-hole is a DNS sinkhole that protects your devices from unwanted content, without installing any client-side software. The best part of Pi-hole is that it can work off cheap hardware such as a Raspberry Pi.
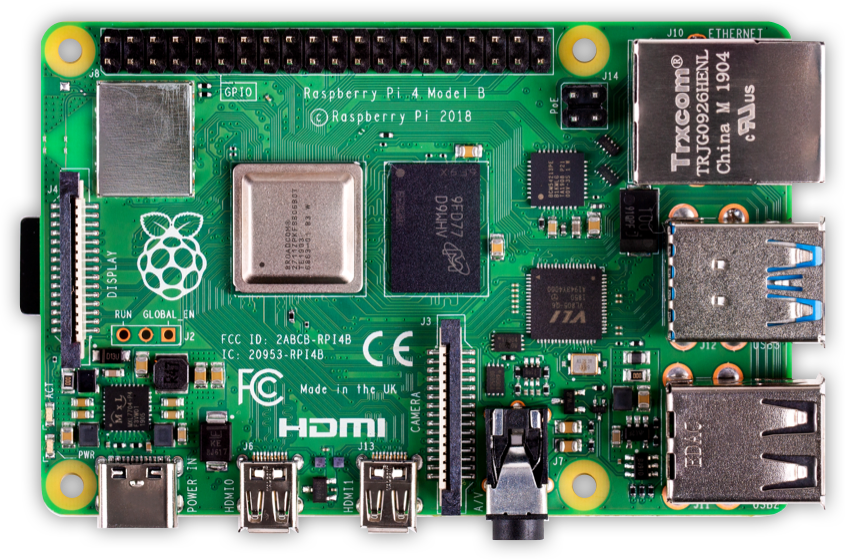
Last month, I bought a Raspberry Pi 3-MODB-1GB and a 16GB MicroSDHC (MicroSD) Memory Card. That was enough to run an Ad Blocker Service for the whole home.

Raspberry Pi
- First, we need to set up a Raspberry Pi (official guide).
- Get a microSD card with a capacity of at least 8 GB. I suggest getting a 16GB one for some extra room, just in case. The price difference isn’t worth saving. Plug the microSD card to a desktop computer and follow the steps to Setup the microSD card (official guide) and thus unzipping the Raspbian operating system content to the drive. Install the Raspbian operating system via NOOBS.
- Plug in the microSD Card, monitor, keyboard, and a mouse. That’s it. Power it up.
- Follow the on-screen instructions to finish setting up the Raspbian operating system. Restart and the Raspberry Pi is ready to setup Pi-hole.
Pi-Hole
- There are three ways to install Pi-hole. Follow the one that works for you - Install Pi-Hole (official guide).
- Follow the on-screen instructions. You’ll just be pressing the RETURN key a lot.
- Pick your choices of options along the way. Do not forget to pause at the last screen and record the admin password and other details.
- The final step is to point your Internet Router’s DNS (just one, delete the others) to the Pi-hole IP (remember the screen from the earlier step).
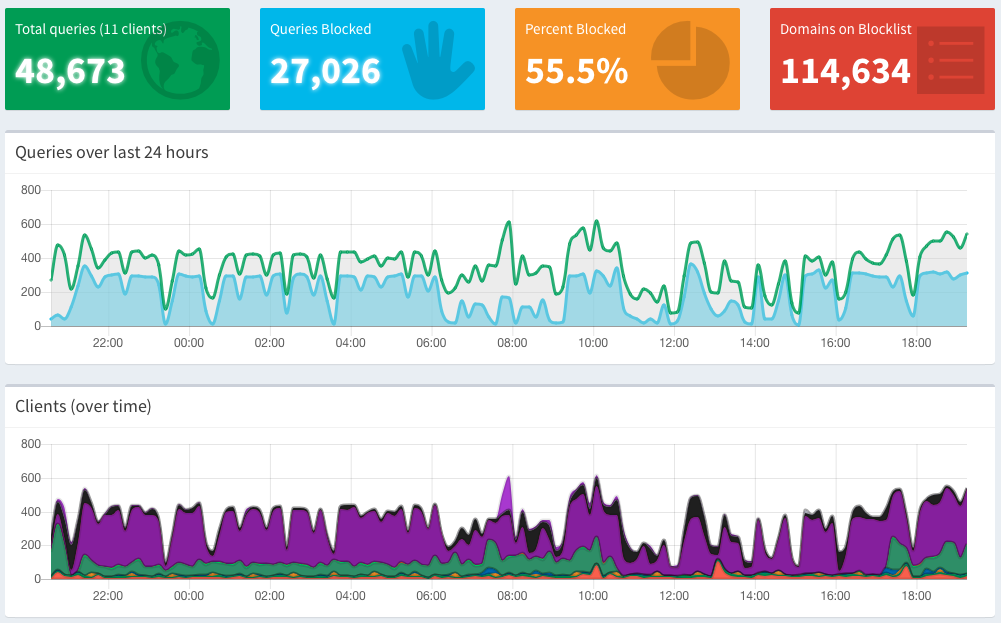
Pi-hole has a really nice web-enabled Admin dashboard which can be accessed inside your Network via one of the following URLs;
http://pi.hole/admin//[Raspberry Pi's IP address]/admin/http://raspberrypi.local/admin/

Pi-hole works pretty well without much fanfare that you might be left with a feeling that you’re missing something. I’ve been running Pi-hole as the Ad-Blocker for my home and seems to be working good so far.
Go, have fun.
References & Updates
- A comprehensive Pi-hole Tutorial (video)from Crosstalk Solutions appeared on Nov 29, 2022. This is one of the most detailed covering every details needed for you to start running your own Pi-Hole server.
